🍐 Glass Pear Chips (Crispy, Translucent Pear Slices)
🌟 Introduction
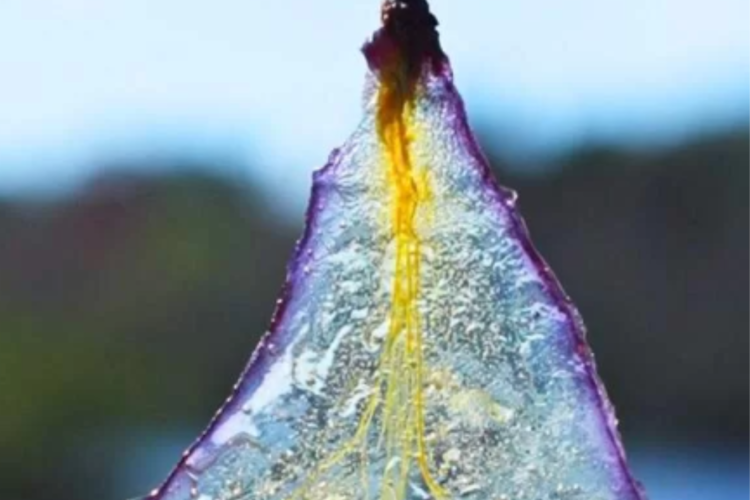
Glass Pear Chips are a stunning culinary creation that transforms simple pears into delicate, crisp slices with a translucent, almost glass-like appearance. These chips are lightly sweet, subtly fruity, and incredibly versatile. They can elevate desserts, add texture to salads, or serve as a sophisticated snack on their own.
What makes them special is their texture—perfectly crisp yet light—and their visual appeal. When made correctly, they look like edible stained glass, making them a favorite among pastry chefs and food stylists.
The process is simple but requires patience and precision. Slow baking at low temperatures allows the pears to dehydrate evenly while preserving their natural sugars, resulting in a beautifully caramelized, crisp finish.
🛒 Ingredients
You only need a few ingredients:
- 3–4 ripe but firm pears (Bosc or Anjou work best)
- 1–2 tablespoons lemon juice
- 2 tablespoons granulated sugar (optional)
- 1 teaspoon cinnamon (optional)
- 250 ml water (for soaking)
🧰 Equipment Needed
- Sharp knife or mandoline slicer
- Baking sheet
- Parchment paper or silicone mat
- Oven
- Cooling rack
🍐 Choosing the Right Pears
Selecting the right pears is key to achieving perfect glass chips.
- Firm texture: Overripe pears will become mushy and won’t hold their shape
- Thin skin: No need to peel; the skin adds structure and color
- Low water content: Varieties like Bosc are ideal
Fresh, slightly underripe pears will give you the best results.
🔪 Step-by-Step Instructions
1. Preheat the Oven
Preheat your oven to 90–100°C (195–210°F). This low temperature is essential for slow dehydration without burning the fruit.
Line a baking sheet with parchment paper or a silicone baking mat.
2. Prepare the Pears
Wash and dry the pears thoroughly.
Using a mandoline slicer (recommended) or a very sharp knife, slice the pears into very thin rounds—about 1–2 mm thick. The thinner the slices, the more translucent and crisp the chips will be.
You can remove seeds for a cleaner look, but it’s not necessary—they often add visual appeal.
3. Prevent Browning
In a bowl, mix water with lemon juice.
Dip each pear slice briefly into the mixture. This step prevents oxidation (browning) and helps maintain a bright, natural color.
Pat slices dry gently with paper towels.
4. Add Flavor (Optional)
Lay the slices flat on the prepared baking sheet in a single layer. Make sure they do not overlap.
If desired:
- Lightly sprinkle sugar for added sweetness and shine
- Add a dusting of cinnamon for warmth and aroma
For a more natural version, you can skip this step entirely.
5. Slow Bake
Place the tray in the oven and bake for 1.5 to 2.5 hours, depending on thickness and moisture content.
After about 1 hour:
- Flip each slice carefully using tongs or a spatula
Continue baking until:
- The slices are dry
- Edges are slightly curled
- Centers look translucent
6. Final Crisping
Once baked, turn off the oven and leave the door slightly open. Let the pear chips sit inside for another 20–30 minutes.
This step helps remove any remaining moisture and ensures maximum crispness.
7. Cool and Set
Remove the chips from the oven and transfer them to a cooling rack.
As they cool, they will become even crispier and develop their signature “glass” texture.
🎨 Presentation Ideas
Glass Pear Chips are as decorative as they are delicious:
- Garnish cakes, cheesecakes, or tarts
- Serve alongside chocolate mousse or panna cotta
- Add to cheese boards with brie or blue cheese
- Use as a topping for oatmeal or yogurt
- Pair with caramel or dark chocolate dips
Their translucent quality makes them especially beautiful when layered or stacked.
🔄 Variations
1. Spiced Pear Chips
Add nutmeg, ginger, or cardamom for a warm spice profile.
2. Honey-Glazed Version
Brush lightly with honey before baking for extra shine and sweetness.
3. Savory Pear Chips
Skip sugar and add a pinch of salt or even a hint of black pepper for a unique twist.
4. Chocolate-Dipped Pear Chips
Dip half of each chip in melted dark chocolate and let set for an elegant dessert.
💡 Tips for Success
- Slice evenly: Uniform thickness ensures even baking
- Use a mandoline: It gives consistent, ultra-thin slices
- Don’t rush the process: Low and slow is key
- Flip gently: Chips are delicate during baking
- Watch closely near the end: They can go from perfect to burnt quickly
⚠️ Common Mistakes
1. Chips Are Not Crispy
Cause: Slices too thick or not baked long enough
Solution: Slice thinner and extend baking time
2. Burnt Edges
Cause: Oven temperature too high
Solution: Keep temperature low and consistent
3. Sticky Texture
Cause: Residual moisture
Solution: Let chips dry in oven after baking
🧊 Storage
- Store in an airtight container at room temperature
- Keep in a dry environment to maintain crispness
- Best consumed within 3–5 days
If they soften, you can re-crisp them in a low oven for 10–15 minutes.
❤️ Why You’ll Love This Recipe
Glass Pear Chips are proof that simple ingredients can create something truly elegant. They’re healthy, naturally sweet, and incredibly versatile. Whether you’re hosting guests or simply elevating your everyday snacks, these chips bring a touch of sophistication to any table.
They’re also a great alternative to processed snacks—no preservatives, just pure fruit goodness.
🧑🍳 Final Thoughts
Making Glass Pear Chips is a rewarding kitchen project that combines patience with creativity. Once you master the basic technique, you can experiment with flavors, shapes, and presentations.
The result? A delicate, crisp, and visually stunning treat that looks as good as it tastes.