Introduction
Sourdough bread is one of the oldest and most rewarding forms of baking. Unlike breads made with commercial yeast, sourdough relies on a natural fermentation process using wild yeast and beneficial bacteria. This not only gives the bread its signature tangy flavor but also improves digestibility and texture.
While sourdough may seem intimidating at first, the process becomes simple and even relaxing once you understand the steps. With patience and practice, you’ll be able to create bakery-quality bread at home.
🛒 Ingredients
For the Dough:
- 500g bread flour (high protein flour preferred)
- 350ml water (room temperature)
- 100g active sourdough starter
- 10g salt
🧪 About the Starter
Before beginning, make sure your sourdough starter is active and bubbly. It should double in size within 4–6 hours after feeding.
To test readiness, drop a small spoonful into water—if it floats, it’s ready to use.
🔪 Step-by-Step Instructions
1. Mix the Dough (Autolyse)
In a large bowl, combine the flour and water. Mix until no dry flour remains. The dough will look rough and shaggy.
Cover and let it rest for 30–60 minutes. This step, called autolyse, allows the flour to fully hydrate and begins gluten development.
2. Add Starter and Salt
After the rest, add the sourdough starter and salt to the dough.
Mix thoroughly using your hands by pinching and folding the dough until everything is well incorporated. The dough will become smoother but still slightly sticky.
3. Bulk Fermentation
Cover the bowl and let the dough ferment at room temperature for about 4–6 hours.
During this time, perform stretch and folds every 30 minutes for the first 2 hours:
- Wet your hands
- Grab one side of the dough
- Stretch it upward
- Fold it over itself
- Rotate the bowl and repeat 3–4 times
This strengthens the dough and builds structure.
By the end of bulk fermentation, the dough should be slightly puffy, smoother, and have visible air bubbles.
4. Pre-Shape
Lightly flour your work surface and gently turn out the dough.
Shape it into a loose round by folding the edges toward the center. Let it rest for 20–30 minutes uncovered.
This rest helps the dough relax before final shaping.
5. Final Shaping
Shape the dough into a tight round (boule) or oval (batard):
- Flip the dough over
- Pull it toward you gently to create surface tension
- Rotate and repeat until tight
Place the shaped dough into a floured proofing basket (or a bowl lined with a floured towel), seam-side up.
6. Cold Proof (Overnight Fermentation)
Cover the dough and refrigerate for 8–16 hours.
This slow fermentation enhances flavor and makes the dough easier to score and bake.
🔥 Baking the Bread
7. Preheat the Oven
Place a Dutch oven (or heavy pot with lid) inside your oven and preheat to 250°C (480°F) for at least 30–45 minutes.
A hot Dutch oven is essential for creating steam and achieving a crispy crust.
8. Score the Dough
Remove the dough from the fridge and carefully turn it onto parchment paper.
Using a sharp blade or knife, score the top of the dough with a slash about 1 cm deep. This allows the bread to expand while baking.
9. Bake
Carefully place the dough (with parchment) into the hot Dutch oven.
Cover with the lid and bake for 20 minutes.
Then remove the lid and bake for another 20–25 minutes until the crust is deep golden brown.
10. Cool Completely
Remove the bread and place it on a wire rack.
Let it cool for at least 1–2 hours before slicing. This step is crucial—the interior continues to cook and set during cooling.
🍽️ Serving Ideas
Sourdough bread is incredibly versatile. Enjoy it:
- With butter and honey
- As toast with avocado
- For sandwiches
- Alongside soups and stews
- With olive oil and herbs
🔄 Variations
1. Whole Wheat Sourdough
Replace up to 30% of the bread flour with whole wheat flour for a nuttier flavor.
2. Seeded Sourdough
Add sunflower seeds, sesame seeds, or flaxseeds during mixing.
3. Olive or Herb Sourdough
Mix in chopped olives, rosemary, or thyme for a savory twist.
💡 Tips for Success
- Use a strong starter: This is the key to good fermentation.
- Be patient: Sourdough takes time, but the flavor is worth it.
- Don’t rush fermentation: Temperature affects timing—warmer rooms ferment faster.
- Handle gently: Avoid deflating the dough too much.
- Practice shaping: It improves structure and rise.
🥡 Storage
- Store at room temperature in a paper bag or wrapped in a cloth for up to 3 days.
- For longer storage, slice and freeze.
🧮 Nutritional Overview (Approximate per slice)
- Calories: 120–150
- Carbohydrates: 25–30g
- Protein: 4–5g
- Fat: 1–2g
❤️ Why You’ll Love This Recipe
- Naturally fermented and healthier
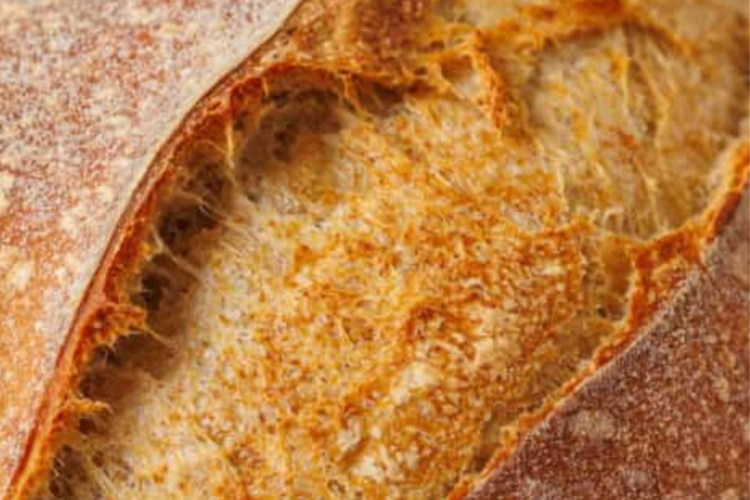
- Crispy crust with soft, airy interior
- Simple ingredients
- Deep, complex flavor
- A rewarding baking experience
🏁 Final Thoughts
Making sourdough bread is more than just a recipe—it’s a process that connects you to traditional baking methods. Each loaf is unique, shaped by time, temperature, and technique.
Don’t worry if your first loaf isn’t perfect. With each attempt, you’ll learn more about your dough and environment. Soon, you’ll be baking beautiful, crusty sourdough bread with confidence.