Mini Crème Brûlée Cheesecakes: A Decadent Dessert Recipe for Beginners
Introduction
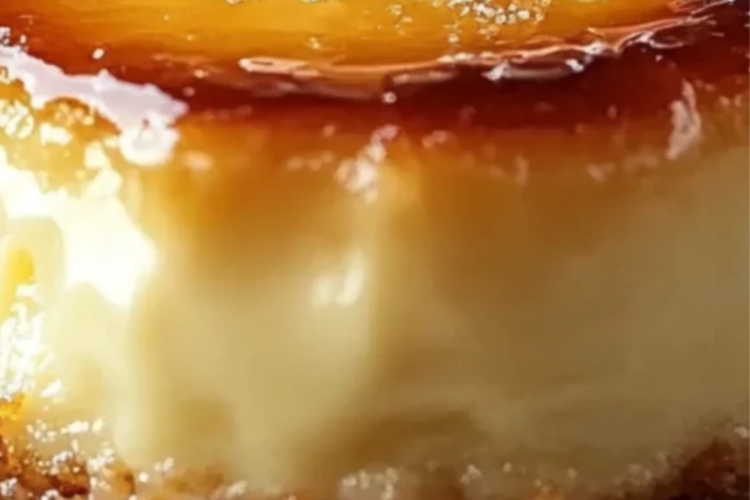
If you love silky cheesecake and the crisp, caramelized topping of crème brûlée, this dessert is the best of both worlds. Mini crème brûlée cheesecakes are elegant, individual-sized treats that look impressive but are surprisingly easy to make—even for beginners.
Each bite delivers a buttery crust, a smooth vanilla cheesecake center, and that irresistible crackly sugar topping. The contrast of textures is what makes this dessert unforgettable. Plus, making them in mini form ensures even baking and perfect portion control.
Ingredients
For the Crust:
- 150 g digestive biscuits or graham crackers
- 70 g unsalted butter, melted
- 1 tablespoon sugar
For the Cheesecake Filling:
- 400 g cream cheese (room temperature)
- 100 g granulated sugar
- 2 large eggs (room temperature)
- 120 ml heavy cream
- 1 teaspoon vanilla extract (or vanilla bean paste for deeper flavor)
- 1 tablespoon cornstarch
For the Crème Brûlée Topping:
- 4–5 tablespoons granulated sugar (for caramelizing)
Equipment Needed
- Muffin tin (12-cup)
- Cupcake liners
- Mixing bowls
- Electric mixer or whisk
- Kitchen torch (for caramelizing sugar)
Step 1: Prepare the Crust
Preheat your oven to 160°C (320°F).
Crush the digestive biscuits into fine crumbs using a food processor or by placing them in a sealed bag and crushing with a rolling pin.
Transfer the crumbs to a bowl and mix with melted butter and sugar until the mixture resembles wet sand.
Line your muffin tin with cupcake liners. Add about 1–2 tablespoons of the crumb mixture into each liner and press it down firmly using the back of a spoon or a small glass.
Bake the crusts for 5–7 minutes, then remove and let them cool while preparing the filling.
Step 2: Make the Cheesecake Filling
In a large mixing bowl, beat the cream cheese until smooth and creamy. This is one of the most important steps—lumps in the batter will affect the final texture.
Add the sugar and mix until fully combined.
Add the eggs one at a time, mixing gently after each addition. Avoid overmixing to prevent too much air from entering the batter.
Pour in the heavy cream and vanilla extract, mixing until smooth.
Finally, add the cornstarch and mix until just combined. The batter should be silky and slightly thick.
Step 3: Assemble the Cheesecakes
Spoon the cheesecake batter evenly over the prepared crusts, filling each liner almost to the top.
Gently tap the muffin tin on the counter to release any air bubbles.
Step 4: Bake to Perfection
Bake the mini cheesecakes at 160°C (320°F) for 18–22 minutes.
The centers should be set but still slightly jiggly when you gently shake the pan. This ensures a creamy texture.
Turn off the oven and leave the door slightly open. Let the cheesecakes cool inside for about 30 minutes. This gradual cooling helps prevent cracking.
Remove from the oven and let them cool completely at room temperature.
Step 5: Chill the Cheesecakes
Once cooled, transfer the cheesecakes to the refrigerator and chill for at least 3–4 hours, or preferably overnight.
Chilling is essential for achieving the perfect creamy consistency and allowing the flavors to develop.
Step 6: Create the Crème Brûlée Topping
This is the fun and dramatic part!
Just before serving, sprinkle about 1 teaspoon of granulated sugar evenly over each cheesecake.
Using a kitchen torch, carefully caramelize the sugar until it melts and turns a deep golden brown. Move the torch in small circular motions to avoid burning.
Let the sugar harden for about 1–2 minutes. It will form a crisp, glass-like layer.
If you don’t have a torch, you can place the cheesecakes under a broiler for a few minutes—but watch them closely to prevent melting the filling.
Step 7: Serve and Enjoy
Serve immediately after caramelizing for the best texture contrast.
When you tap the top with a spoon, you should hear that signature “crack”—the hallmark of a perfect crème brûlée topping.
These mini cheesecakes are perfect for:
- Dinner parties
- Special occasions
- Elegant desserts at home
Tips for Beginners
1. Use Room Temperature Ingredients
Cold ingredients can cause lumps in your batter.
2. Don’t Overmix
Too much air can lead to cracks and uneven texture.
3. Watch the Baking Time
Overbaking will make the cheesecakes dense instead of creamy.
4. Chill Thoroughly
This step is key for structure and flavor.
5. Torch Carefully
Keep the flame moving to avoid burning the sugar.
Flavor Variations
Once you master the basic recipe, you can easily customize it:
- Chocolate Version: Add melted dark chocolate to the batter
- Coffee Twist: Mix in a teaspoon of espresso powder
- Citrus Brightness: Add lemon or orange zest
- Berry Delight: Top with fresh berries before serving
Storage Tips
Store the cheesecakes in an airtight container in the refrigerator for up to 4 days.
Important:
Only caramelize the sugar right before serving. If done in advance, the topping may soften due to moisture.
You can also freeze the cheesecakes (without topping) for up to 2 months. Thaw overnight in the fridge before adding the sugar topping.
Common Mistakes to Avoid
- Skipping the cooling step: Leads to cracks
- Overbaking: Results in dry texture
- Uneven sugar layer: Causes inconsistent caramelization
- Using cold cream cheese: Creates lumpy batter
Final Thoughts
Mini crème brûlée cheesecakes are a perfect example of how a simple recipe can feel luxurious. They combine two beloved desserts into one irresistible treat that’s creamy, crunchy, and beautifully balanced.
Even if you’re a beginner, following these steps carefully will give you bakery-quality results. The satisfaction of cracking that caramelized sugar top and revealing the creamy cheesecake beneath is truly unbeatable.